안녕하세요~ 두결입니다.
지난시간에는 다음단계 설정을 위한 팝업창을 만들고 기본설정후, 반투명으로 설정해보았습니다.
그리고, 1단계 성공 시, 다음단계 설정 팝업창을 표시하는것 까지 해보았습니다.
이번시간에는
팝업창에 현재 게임단계 표시, 성공메세지, 닫기 버튼 및 다음단계 이동 버튼을 추가해보도록 하겠습니다.
▣ 팝업창에 현재 게임단계 및 성공메세지 표시하기
먼저, 팝업창이 뜰때 현재 몇단계인지와 성공메세지도 같이 표시해보도록 하겠습니다.
int nGameStage = 1;// 다음단계 설정 팝업창 띄우는 함수.
private void ShowPopupNextStage()
{
Intent intent = new Intent(getApplicationContext(), PopupNextStage.class);
intent.putExtra("curgamestage", nGameStage);
mStartForResult.launch(intent);
}
nGameStage라는 변수를 만들어서 1로 설정하고
팝업창 띄우는 함수인 ShowPopupNextStage()에서 intent.putExtra()로 현재 게임 단계를 팝업화면으로 넘겨줍니다.
이제 팝업화면으로 와서

TextView를 1개 추가합니다.
<TextView
    android:id="@+id/txtvCurGameStage"
    android:layout_width="wrap_content"
    android:layout_height="wrap_content"
    android:text=""
    app:layout_constraintBottom_toBottomOf="parent"
    app:layout_constraintHorizontal_bias="0.5"
    app:layout_constraintLeft_toLeftOf="parent"
    app:layout_constraintRight_toRightOf="parent"
    app:layout_constraintTop_toTopOf="parent"
    app:layout_constraintVertical_bias="0.5"  />
XML에서 아이디를 txtvCurGameStage라고 하고 text는 ""로 설정하였습니다.
int nGameStage = 0;
Intent intent = getIntent();
nGameStage = intent.getIntExtra("curgamestage",0);
txtv_CurGameStage = findViewById(R.id.txtvCurGameStage);
txtv_CurGameStage.setTextSize(40);
txtv_CurGameStage.setTypeface(null, Typeface.BOLD);
txtv_CurGameStage.setGravity(Gravity.CENTER);
txtv_CurGameStage.setTextColor(Color.WHITE);
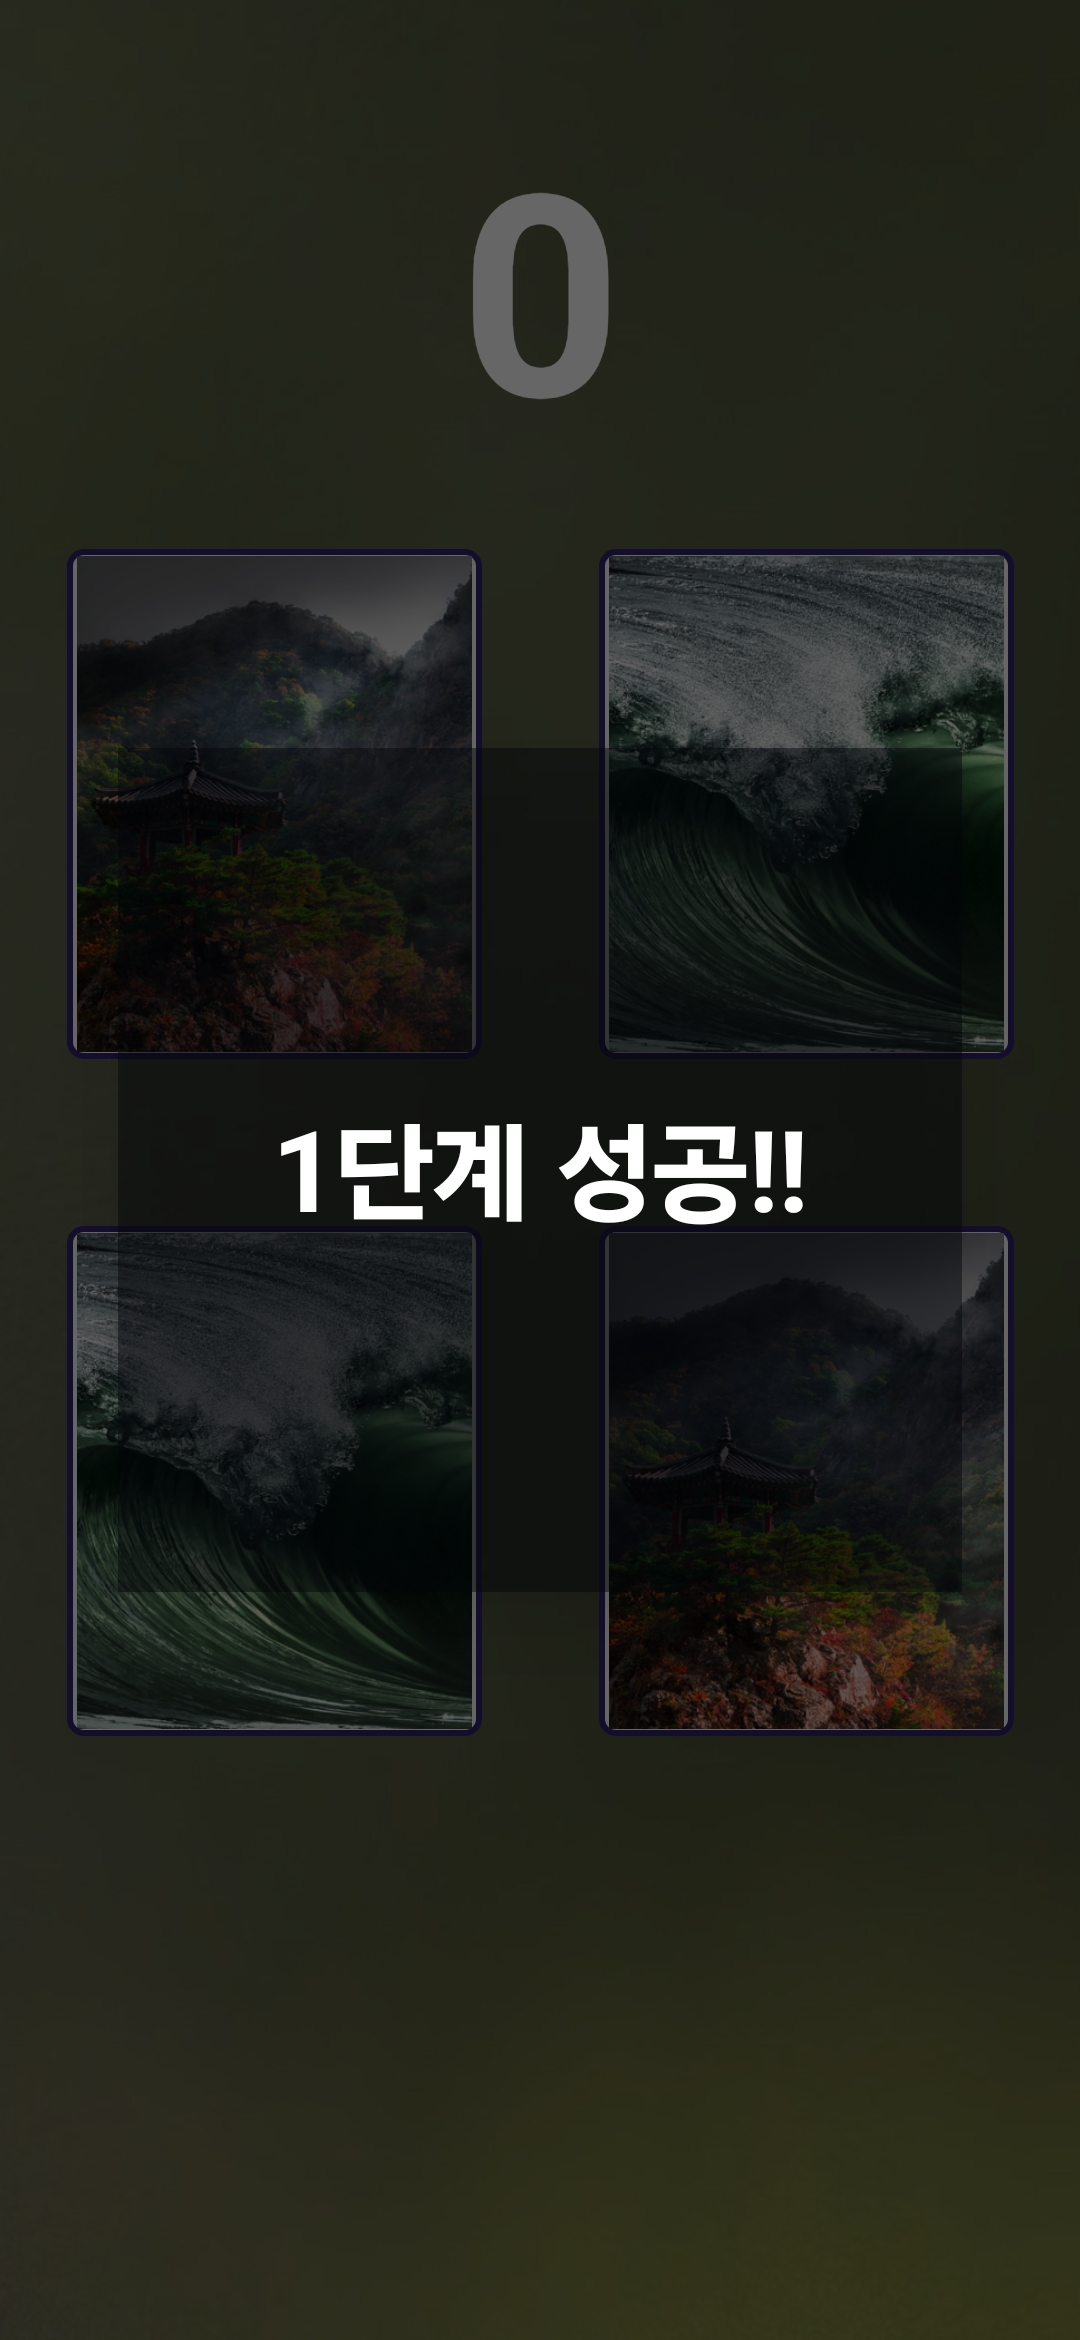
txtv_CurGameStage.setText(nGameStage + "단계 성공!!");
PopupNextStage.java에서
메인에서 넘겨준 게임단계값을 getIntExtra()로 받아와서 nGameStage에 저장합니다.
그리고, TextView의 글씨크기등 기본적인 설정을 해주었습니다.
여기까지 잘 되는지 한번 실행해보겠습니다.

네 그림을 모두 맞추었을때 "1단계 성공!" 메세지가 잘 보이네요..^^
다음으로 가기전에
투명도하고 배경색을 살짝 더 어둡게 바꾸어볼까요?
<?xml version="1.0" encoding="utf-8"?>
<resources>
    <style name = "Theme.AppCompat.PopupTransparent" parent="Theme.AppCompat.Dialog">
        <item name ="android:windowIsTranslucent"> true </item>
        <item name="android:windowBackground"> #77020409 </item>
    </style>
</resources>
style.xml에서 windowBackground값을 살짝 바꾸어보았습니다.
실행해보면
네 검은색에 반투명이 잘 적용되었네요.. 위에랑 별차이가 없긴한데.. 그냥 이걸로 하도록 하겠습니다.
▣ 팝업화면 닫기 버튼 구현하기
다음으로 팝업화면에 닫기버튼을 추가해보도록 하겠습니다.
먼저, 버튼 한개를 추가하겠습니다.

<Button
    android:id="@+id/btnPopupClose"
    android:layout_width="wrap_content"
    android:layout_height="wrap_content"
    android:text="닫기"
    app:layout_constraintBottom_toBottomOf="parent"
    app:layout_constraintHorizontal_bias="0.5"
    app:layout_constraintLeft_toLeftOf="parent"
    app:layout_constraintRight_toRightOf="parent"
    app:layout_constraintTop_toTopOf="parent"
    app:layout_constraintVertical_bias="0.5" />
ID는 btnPopupClose라고 하고 text는 "닫기"라고 하였습니다.
Button btn_PopupClose;btn_PopupClose = findViewById(R.id.btnPopupClose);
btn_PopupClose.setOnClickListener(new View.OnClickListener() {
@Override
public void onClick(View view) {
Intent intent = new Intent(PopupNextStage.this, MainActivity.class);
intent.putExtra("popup_result",1);
setResult(Activity.RESULT_OK, intent);
finish();
}
});
btn_PopupClose라는 버튼객체를생성하고
Click 이벤트에서 Intent.putExtra()로 메인으로 결과값을 넘여주고
finish()로 팝업화면을 종료하였습니다.
ActivityResultLauncher<Intent> mStartForResult = registerForActivityResult(new ActivityResultContracts.StartActivityForResult(),
        result -> {
            if (result.getResultCode() == RESULT_OK) {
                Intent intent = result.getData();
                int nResult = intent.getIntExtra("popup_result", 0);


                // 팝업화면의 결과 상태에 따른 처리
                if(nResult == 1)
                {
                    finishAndRemoveTask();
                }
            }
        }
);
마지막으로 Main의 ActivityResultLauncher에서 팝업화면의 결과가 1일때
finishAndRemoveTask()로 앱자체를 종료하도록 하였습니다.
여기까지 실행해보겠습니다.

네 닫기 버튼 눌렀을때 앱이 잘 종료되네요..^^
▣ 다음단계 이동버튼 눌러서 2단계 시작하기
다음으로 다음단계 이동버튼을 눌러서 2단계를 시작해보도록 하겠습니다.

버튼을 하나 더 추가하구요~
<Button
    android:id="@+id/btnNextStage"
    android:layout_width="wrap_content"
    android:layout_height="wrap_content"
    android:text="다음 단계"
    app:layout_constraintBottom_toBottomOf="parent"
    app:layout_constraintHorizontal_bias="0.8"
    app:layout_constraintLeft_toLeftOf="parent"
    app:layout_constraintRight_toRightOf="parent"
    app:layout_constraintTop_toTopOf="parent"
    app:layout_constraintVertical_bias="0.9" />
아이디는 btnNextStage라고 하고 text는 "다음 단계"라고 하였습니다.
Button btn_NextStage;btn_NextStage = findViewById(R.id.btnNextStage);
btn_NextStage.setOnClickListener(new View.OnClickListener() {
@Override
public void onClick(View view) {
Intent intent = new Intent(PopupNextStage.this, MainActivity.class);
intent.putExtra("popup_result",2);
setResult(Activity.RESULT_OK, intent);
finish();
}
});
btn_NextStage 버튼 객체를 생성하고
클릭이벤트에서 "popup_result"에 2값을 준뒤 finish()로 팝업화면을 종료하였습니다.
ActivityResultLauncher<Intent> mStartForResult = registerForActivityResult(new ActivityResultContracts.StartActivityForResult(),
        result -> {
            if (result.getResultCode() == RESULT_OK) {
                Intent intent = result.getData();
                int nResult = intent.getIntExtra("popup_result", 0);


                // 팝업화면의 결과 상태에 따른 처리
                switch(nResult)
                {
                    case 1:
                        finishAndRemoveTask(); // 앱 종료
                        break;
                    case 2:
                        nGameStage++;
                        NewGame();  // 새게임 시작
                        break;
                }
            }
        }
);

// 새게임 시작
private void NewGame()
{

}
메인에서는 팝업의 결과값에 따라서
"다음단계" 버튼을 누른경우 위와같이 GameStage값을 증가시켜주고 NewGame()함수를 호출해서
새로운 게임을 시작하도록 하였습니다.
2단계 부분은 시간이 좀 걸릴듯하니
이번시간은 여기까지만 하도록 하구요~
다음시간에 이어서 해보도록 하겠습니다.
그럼, 이만~
감사합니다. ^^